Aviation Electronics Calibration Methods: Ensuring Precision and Compliance in Aerospace Systems
For B2B procurement managers and quality assurance professionals in aerospace, defense, and heavy machinery, calibration is not merely a maintenance task—it's a fundamental requirement for safety, reliability, and regulatory compliance. Whether dealing with a critical Aviation Sensor in a High quality Aviation Engine control loop or the precision of an Aviation Meter for Drone test station, uncalibrated equipment introduces unacceptable risk. This comprehensive guide explores aviation electronics calibration methods, standards, and best practices, providing the knowledge needed to manage a compliant calibration program for components ranging from simple meters to complex avionics suites.

Fundamentals of Metrology and Traceability
Understanding core metrology concepts is essential before diving into specific methods.
1. The Calibration Hierarchy and Traceability
All measurements must be traceable to internationally recognized standards.
- Definition: Calibration is the comparison of a device under test (DUT) against a reference standard of known, higher accuracy.
- Traceability Chain: Your working instrument → Your lab standard → National Metrology Institute (NMI) standard (e.g., NIST, PTB, NPL) → International System of Units (SI).
- Calibration Certificate: The document proving this traceable comparison, stating the "as found" and "as left" data, uncertainties, and standards used.
2. Key Terms: Accuracy, Precision, Tolerance, and Uncertainty
- Accuracy: How close a measurement is to the true value.
- Precision: How repeatable a measurement is.
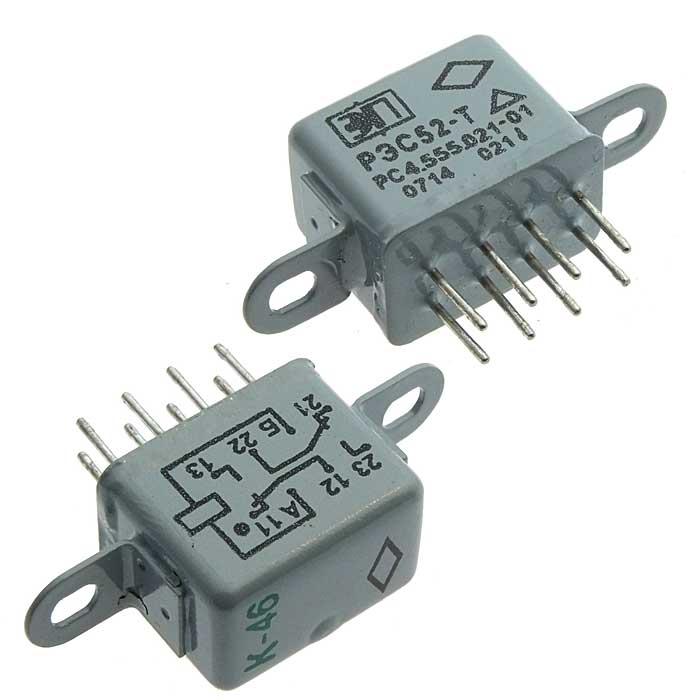
- Tolerance: The allowable deviation from a specified value. A Military Aviation Relay may have a coil resistance tolerance of ±10%.
- Measurement Uncertainty: A quantified doubt about the measurement result. A proper calibration states the uncertainty of the calibration process itself.

Calibration Methods for Common Aviation Electronics
The method is dictated by the parameter being measured and the required accuracy.
1. Electrical Parameter Calibration (DC/LF)
For multimeters, data acquisition systems, and source instruments.
- Voltage, Current, Resistance: Using a precision calibrator (e.g., Fluke 57xx series) as the source. The calibrator generates highly accurate signals which are measured by the DUT. The DUT's readings are compared to the calibrator's known output.
- Frequency and Time: Compared against a rubidium or GPS-disciplined oscillator standard.
- Application: Calibrating the measurement circuitry within an Aviation Meter for Drone battery test station or the monitoring system for an Aircraft Contractor's coil current.
2. Sensor and Transducer Calibration
For Aviation Sensors measuring physical phenomena.
- Pressure Sensors: Using a deadweight tester (for high accuracy) or a high-precision digital pressure controller/standard. The sensor is subjected to known pressures across its range in a controlled temperature environment.
- Temperature Sensors (Thermocouples, RTDs): Immersed in a stable, uniform temperature source (dry-block calibrator, liquid bath, fixed-point cell) alongside a reference standard thermometer (SPRT).
- Strain, Load, and Force: Calibrated against known mechanical forces using certified weights or hydraulic/pneumatic force calibration systems.
- Process: Typically involves applying multiple points (e.g., 0%, 25%, 50%, 75%, 100% of range) in both ascending and descending directions to check for hysteresis.

3. Specialized System and Functional Calibration
For integrated units or devices with complex outputs.
- Avionics LRUs (Line Replaceable Units): Using a dedicated Automatic Test Equipment (ATE) or "black box" tester that simulates all aircraft bus inputs (ARINC 429, MIL-STD-1553) and verifies the unit's responses and outputs.
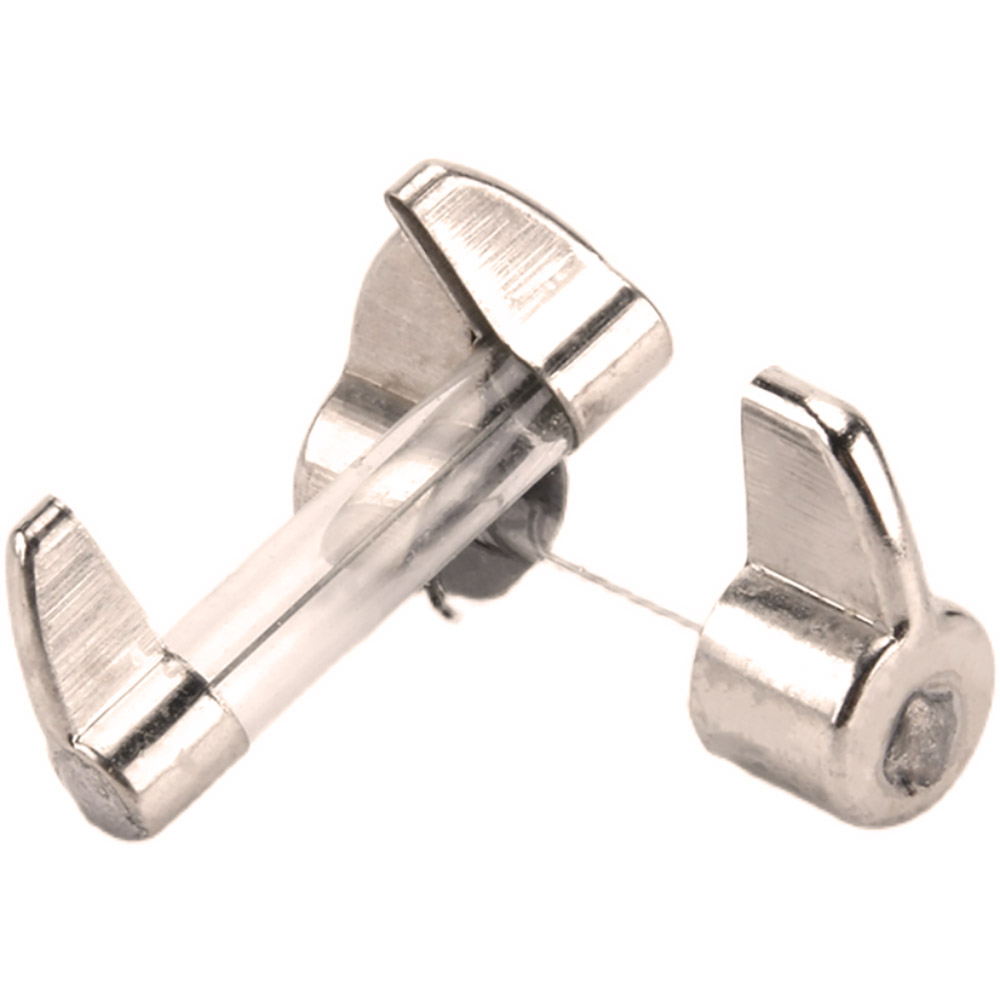
- Time-Current Characteristic (TCC) for Aviation Fuses: Specialized test equipment applies precise overload currents and measures the melting time to verify it falls within the published curve band.
- Contactor/Relay Timing: Measuring pull-in, drop-out, and bounce times with high-resolution time interval counters, often as part of a functional performance test.
Establishing a Compliant Calibration Program: A Procurement and QA Guide
Managing calibration is a systematic process critical for audit success.
5-Step Framework for Program Management:
- Inventory and Categorize:
- Identify all equipment requiring calibration—not just test gear, but also process monitoring equipment that affects product quality (e.g., oven thermocouples in a Military Aviation Relay manufacturing line).
- Categorize by criticality: Is it used for final product acceptance, in-process checks, or general indication?
- Define Calibration Intervals:
- Base intervals on manufacturer recommendation, historical stability data, and criticality. Common intervals: 6 months, 1 year, 2 years.
- Implement a recall system to ensure no instrument goes overdue.
- Select a Calibration Provider (Internal vs. External):
- Internal Lab: Requires significant investment in standards, environment control, and accredited procedures (ISO/IEC 17025). Justified for high volume or proprietary tests.
- External Accredited Lab: The most common choice. Verify their scope of accreditation (ISO/IEC 17025) covers the specific parameters and ranges you need.
- Manage the Process and Data:
- Use a Calibration Management Software (CMS) or robust spreadsheet to track assets, due dates, certificates, and historical trends.
- Establish procedures for handling out-of-tolerance (OOT) conditions: What was measured with the faulty instrument? Does product need to be recalled?
- Audit and Continuously Improve:
- Regularly audit your program and your external providers.
- Analyze calibration data to adjust intervals—if an instrument is consistently well within tolerance, its interval may be extended.

Industry Trends and Technological Advancements
Innovations in Calibration Technology and Practice
- Digital Calibration Certificates (DCCs): Machine-readable, cryptographically signed certificates that automate data entry into CMS, eliminate paper, and enhance traceability integrity.
- Remote and Automated Calibration: Using secure network connections to calibrate instruments in situ without removal, and robotic systems in labs to handle high-volume, repetitive calibrations.
- Embedded Self-Calibration and Diagnostics: "Smart" sensors and instruments with internal references that perform continuous or on-demand self-checks, reducing the frequency of external calibrations.
- Portable and Ruggedized Calibration Standards: High-accuracy field calibration kits that maintain traceability in depot or forward operating environments, crucial for military maintenance.
- Blockchain for Immutable Calibration Records: Exploring the use of blockchain to create an unalterable, timestamped chain of custody for calibration data throughout a component's life.
Focus: Russian & CIS Market Calibration and Metrology Requirements
Compliance in this region involves specific institutional requirements.
- GOST R 8.xxx Series Metrology Standards: Calibration must often comply with the GOST system of measurement uniformity. The procedures and certificate formats are dictated by standards like GOST R 8.563.
- Certification by Russian Metrology Institutes: Reference standards and sometimes the calibration lab itself may need verification or certification by a Russian state metrology institute (e.g., VNIIMS).
- Mandatory Russian-Language Calibration Certificates: Certificates must be in Russian, following the strict GOST form, stating the Russian registration numbers of the standards used.
- On-Site Audits of Supplier Calibration Capabilities: As part of supplier qualification, Russian customers may audit a manufacturer's internal calibration facilities to verify traceability and compliance with their requirements.
- Emphasis on Low-Temperature Calibration Points: For components and sensors used in extreme cold, calibration at temperatures like -60°C may be explicitly required, necessitating specialized environmental chambers.

Key Aviation Calibration Standards and Regulations
- ISO/IEC 17025:2017: The single most important standard: "General requirements for the competence of testing and calibration laboratories." Accreditation to this standard is the global benchmark.
- ANSI/NCSL Z540.3: U.S. national standard for calibration laboratories and the management of measurement uncertainty.
- MIL-STD-45662A (Cancelled but still invoked): The historic DoD calibration system standard. Superseded by ISO/IEC 17025 and ANSI/NCSL Z540, but its requirements are often embedded in contracts.
- FAA AC 43.13-1B: Acceptable methods for aircraft alteration and repair, includes guidance on instrument accuracy and calibration.
- AS9100: The aerospace QMS standard, clause 7.1.5 specifically requires evidence that monitoring and measuring resources are calibrated and traceable.
YM's Accredited Calibration and Metrology Center
At YM, precision is engineered into our products and validated through our investments in metrology. Our on-site, ISO/IEC 17025 accredited calibration laboratory is a strategic asset. Spanning 800 sqm with tightly controlled environments (temperature ±0.5°C, humidity <50% RH), it houses primary standards traceable to NIST and other NMIs. This allows us to perform in-house calibration of all our production and R&D test equipment, as well as offer calibration services for our customers' fielded Aviation sensors and test units.
Our metrology and R&D teams collaborate closely. For instance, when we develop a new Aviation Meter for Drone system, the calibration procedure and fixturing are designed in parallel with the product. We have developed proprietary AutoCal™ software routines for our sensor products, which, when used with our calibration standards, automate the multi-point calibration process, ensuring consistency and drastically reducing human error. This integration of design, manufacturing, and verification in our advanced facilities is what guarantees the documented accuracy and reliability of every YM component, from a simple Aviation Fuse tester to a complex engine monitoring system.

Practical Guide: Best Practices for Handling Calibrated Equipment
Do's and Don'ts for Equipment Longevity and Integrity:
- DO:
- Handle instruments with care. Transport them in protective cases.
- Allow instruments to acclimate to the lab environment (typically 4+ hours) before use after a large temperature change.
- Perform regular user checks (e.g., a daily check with a short standard) to catch drifts between formal calibrations.
- Clearly label instruments with calibration status and next due date.
- DON'T:
- Exceed the instrument's specified environmental operating ranges.
- Use an instrument for purposes beyond its design intent (e.g., using a multimeter to measure RF signals).
- Adjust ("tweak") an instrument to make it read correctly unless you are performing a formal, documented adjustment as part of a calibration.
- Ignore out-of-tolerance findings. They must trigger an investigation.
Responding to an Out-of-Tolerance (OOT) Result:
- Quarantine the Instrument: Immediately remove it from service and label it "OUT OF CALIBRATION."
- Assess Impact: Determine what measurements were taken with the instrument since its last known-good calibration. Evaluate if those measurements could affect product quality or safety.
- Investigate Root Cause: Was it mishandling, environmental stress, normal drift, or a malfunction?
- Take Corrective Action: Repair and recalibrate the instrument. If product was affected, implement containment and potential recall.
- Update Procedures: If the OOT indicates a systemic issue (e.g., intervals too long), update the calibration program accordingly.


